Our Neatly Arranged Tool Storage in the Basement

Once this impressive piece was assembled, it was time to fill it up. We probably have more tools than the average homeowner, and organizing them all was quite a challenge. We had some in the garage, some down here, and even a few in the kitchen. It was a complete mess! If we needed a specific tool, we often had to check all three locations. Not ideal. Here’s how Finn tackled our overflowing tool area:
Purge: Sometimes when we have the space, we keep items we don’t really need. We’ve definitely made that mistake in this house. Finn took this opportunity to declutter. We tossed old paint brushes, donated extra wrenches, and got rid of any tools that were just taking up space.
Get It All Out: Even though we were excited to fill the new storage bench, we didn’t add a single item until all our tools were laid out. They ended up spreading across the entire storage room and basement, but it was great to see everything before putting anything away.
Put Similar Items Together: With everything visible, Finn was able to group similar items together (like paint supplies, demo tools, safety gear, etc.). This helped us visualize the size of each category and find the right spot for them in the tool bench or elsewhere in the storage room.
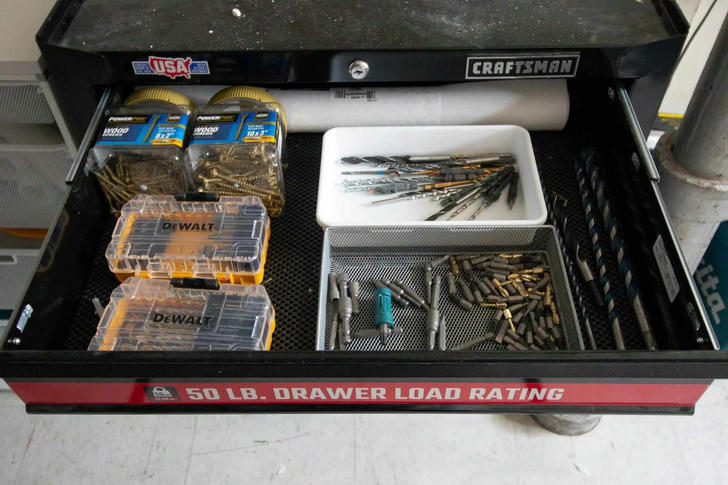
Use Drawer Liner: Since the drawers slide in and out, it’s important to use a liner so the tools don’t shift around and make noise. The tool bench came with liners, but you can also buy a roll if you’re organizing drawers at home.
Put Things Back: The key to any organization project is actually using the systems you set up. After using a tool, make sure to return it to the exact spot. Previously, we’d pile items on our wood bench, and nothing really had a designated place. Now, we’re both good about putting each item back where it belongs.
